You wait in the snow, your breath turns white, the sky looks almost empty – and then a green ribbon starts moving above the trees. This is the moment most people realise that learning how to photograph northern lights is not really about fancy gear. It is about being ready before the magic starts.
The good news is that you do not need to be a professional photographer to come home with beautiful aurora images. You do, however, need a camera you can control manually, a bit of patience, and a plan that works in real Arctic conditions. In Lapland, the difference between a muddy blur and a frame-worthy shot usually comes down to preparation, not luck.
How to photograph northern lights without overcomplicating it
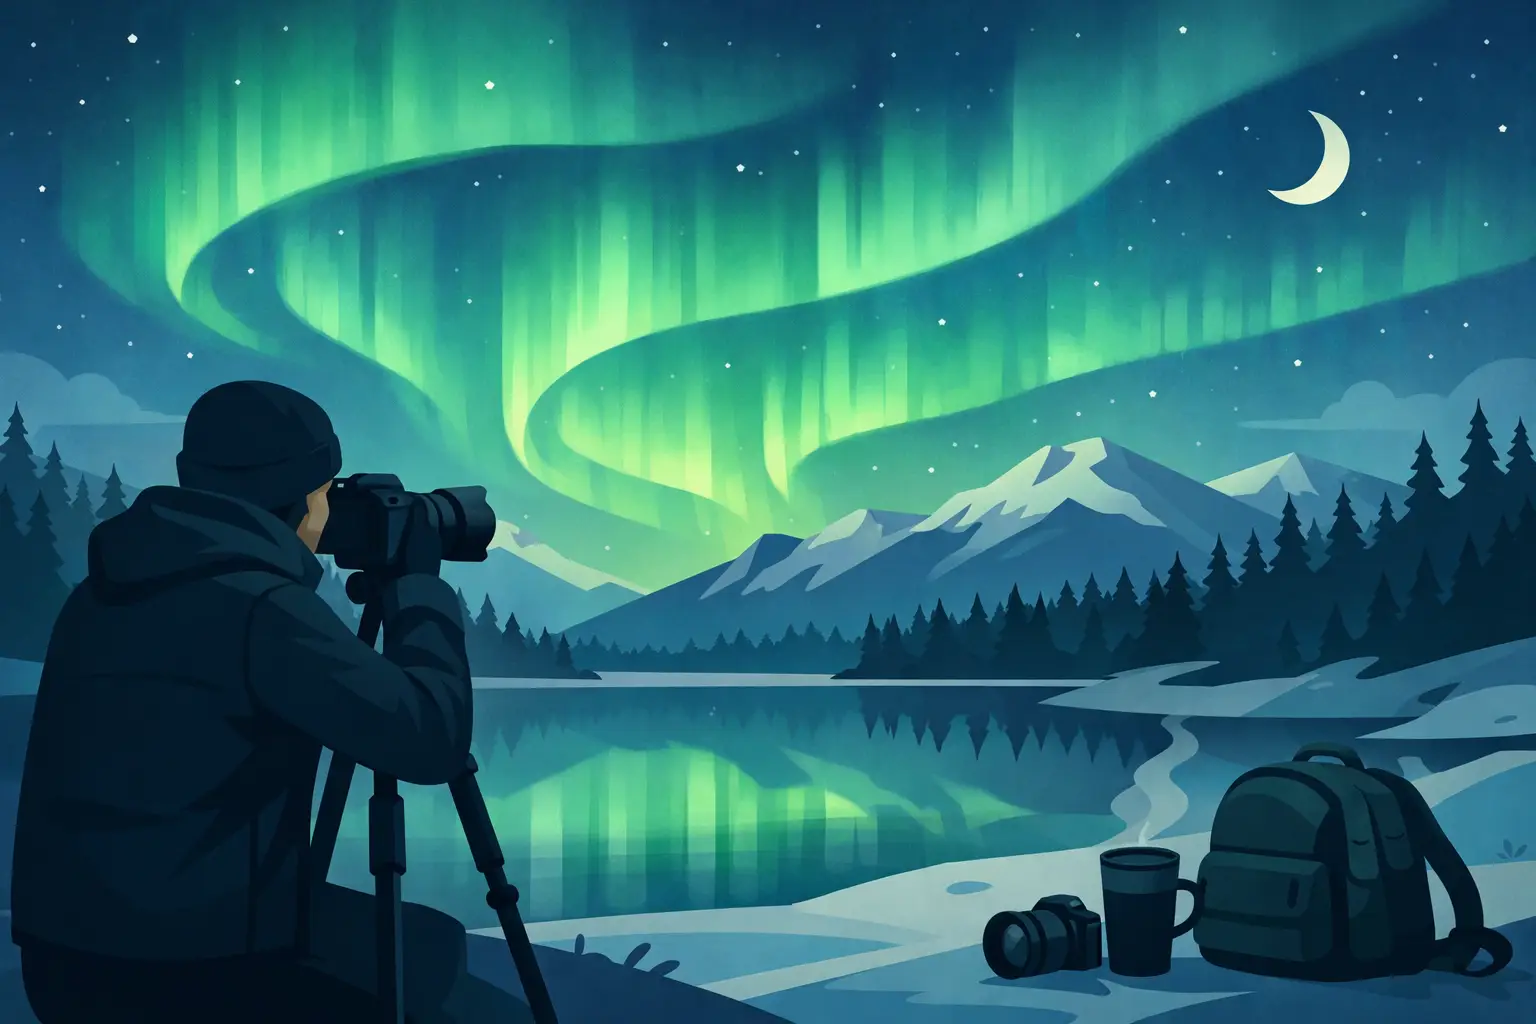
If you are travelling to Finnish Lapland for a winter break, keep this simple. Your camera needs to do three things well: handle low light, allow manual settings, and stay steady on a tripod. That is the foundation.
A mirrorless camera or DSLR is the easiest choice, especially paired with a wide-angle lens. A fast lens helps most, ideally one with an aperture of f/2.8 or wider. If your lens only opens to f/4, you can still get good results, but you will have less room to work with when the aurora is faint or moving quickly.
Phones have improved massively, and some newer models do a respectable job in night mode. Still, if your goal is a clean, detailed aurora photograph rather than a social snap, a proper camera wins. Phones tend to smooth detail, struggle with moving light, and produce inconsistent results in deep darkness.
Just as important as the camera is the tripod. Northern Lights photography means slow shutter speeds, and handholding rarely works. Even a great camera will give you soft, shaky images if it is wobbling on packed snow.
The best camera settings for Northern Lights photography
This is where many people freeze before the weather does. The settings are less mysterious than they seem.
Start in manual mode. Set your aperture as wide as it will go, such as f/1.8, f/2, or f/2.8. Then choose an ISO between 800 and 3200, depending on how dark it is and how well your camera handles noise. For shutter speed, begin around 5 to 10 seconds.
That starting point works well for many aurora nights, but it always depends on what the sky is doing. If the lights are faint and slow, you can push to 10 or even 15 seconds. If they are strong and dancing fast, use a shorter exposure – sometimes 1 to 4 seconds – so the shapes stay defined instead of turning into a green smear.
Focus matters just as much as exposure. Autofocus often struggles in darkness, so switch to manual focus. The safest method is to focus on a distant light or bright star before the show begins, then leave focus alone. Do not trust the infinity mark on the lens without checking it. On many lenses, true infinity sits slightly before or after that marking.
Set your white balance manually too. Around 3500K to 4500K is a good place to begin. Auto white balance can warm up the scene too much and flatten the cold, crisp atmosphere that makes Arctic night photography feel real.
Shoot in RAW if your camera allows it. This gives you far more flexibility later with exposure, highlights, shadows, and colour balance. JPEG can work, but RAW is much kinder when the sky changes every few seconds.
How to photograph northern lights and keep the landscape sharp
The aurora is the star, but the best images usually include more than sky. Snow-covered trees, a frozen lake, a cabin glow in the distance, or the line of a fell can turn a technically correct photo into one that feels like Lapland.
Composition is worth thinking about before the aurora appears. In the dark, it is much harder to build a frame from scratch. Arrive early, scout a foreground, and ask yourself where the lights might rise. Open ground is useful, but completely empty scenes can feel flat. A clean foreground gives the image depth and scale.
There is a trade-off here. If you expose for too long to brighten the landscape, the moving aurora loses texture. If you expose too briefly to keep the aurora crisp, the foreground may fall into darkness. That balance changes from night to night, which is why there is no single perfect setting.
Moonlight can help more than most travellers expect. A bright moon gently lights the snow and forest, making the whole scene easier to photograph. The aurora may look slightly less dramatic to the eye, but your images can gain detail and structure.
The cold-weather mistakes that ruin good aurora photos
In Lapland, cameras behave differently once the temperature drops well below freezing. Batteries drain faster, screens lag, and fingers stop cooperating just when the sky starts performing.
Bring at least one spare battery and keep it warm in an inside pocket. If the battery in your camera appears to die, it may not be fully dead – it might just be cold. Warming it up can bring it back for a while.
Dress so you can stand still for long periods. That sounds obvious, but Northern Lights photography is not active in the way snowshoeing or husky rides are. You might be waiting quietly in one spot, adjusting dials with frozen hands. Thin liner gloves under warmer mittens are often the best setup.
Condensation is another issue, especially when moving from Arctic air into a warm vehicle or accommodation. Put your camera in a bag before going indoors and let it warm gradually. That helps reduce moisture collecting on the body and lens.
A remote shutter or two-second timer is also worth using. It cuts camera shake when you press the button, and that matters at slow shutter speeds.
When the Northern Lights are strong, change your approach
Not every aurora behaves the same way. This is where many online guides oversimplify things.
On a quiet night, when the lights look like a pale band on the horizon, you may need higher ISO and longer exposures to reveal colour and shape. On an active night, when the sky is rippling overhead, those same settings can blow out detail. The aurora can be far brighter than it first appears.
If the lights intensify, react quickly. Lower your ISO, shorten your shutter speed, and keep checking the histogram if your camera has one. A photograph that looks bright enough on the rear screen can still be overexposed. Snow also tricks the camera display, making scenes appear brighter than they really are.
This is why Northern Lights photography rewards practice. The sky changes fast, and there is a real advantage in knowing your controls by feel instead of hunting through menus while the best shapes vanish.
A practical setup for first-time aurora photographers
If you want one reliable starting setup, use this: manual mode, aperture wide open, shutter speed 6 seconds, ISO 1600, manual focus on a distant point, white balance at 4000K, RAW format, tripod steady on firm ground. Take a test shot, zoom in on the image, and check two things – focus and exposure.
If the stars are soft, fix focus first. If the sky is too dark, increase ISO or lengthen the shutter. If the aurora looks washed out or blurry, shorten the shutter speed. Keep adjusting one setting at a time so you know what changed the result.
For travellers who want the experience without the stress, going out with a small-group photo-focused guide makes a real difference. It is not just about reaching darker skies. It is about having someone who understands cloud movement, road conditions, aurora behaviour, and camera setup in the moment. That is exactly why photo hunting tours have become such a favourite with guests at ArKtictopia.
What if you only have a smartphone?
You can still try. Use a tripod or clamp, switch on night mode if your phone has it, and keep the device as still as possible. Some phones let you adjust exposure time manually through a pro mode, which helps.
Expectations matter here. A smartphone can capture the atmosphere and give you a memory worth sharing, but it will not usually match the depth, sharpness, or control of a dedicated camera. If the aurora is exceptionally bright, phone results improve a lot. If it is faint, the difference is obvious.
That does not make phone photography pointless. It just means the best tool depends on the result you want.
The real trick with aurora photography is staying calm when the sky finally turns on. Get your settings close, build your frame, and then look up now and again instead of spending the whole night on the back screen. Some moments are worth photographing. Others are worth feeling first, then photographing second.